For the second piece for the #HBSCREATINCONTEST2015
I have decided to make the Marcel Breuer Long Chair. I have some old decorating books I look through for ideas and I thought this was great for the 1970's look I will try to achieve.
I got online to look for pictures of the chair. It was designed in 1935. Laminated wood or plywood was being used for furniture frames by designers of the time. This material was not used for long because WWII needed the plywood.
I made a couple of chairs from forms to try out the shape and size. I could possibly change a couple of things on the final form but I'm pretty happy with the way the chair turned out.
It took a few times but I came up with a drawing for us to follow. Nancy color coded the the pattern for you to follow.
Above is the pattern I want you to copy for making the gluing forms. Make 6 copies when you have sized the pattern to 1 inch scale. On the left of the blog, "Things to do, Things to see", HOW TO RE-SIZE THE PATTERNS. I would suggest you print out the directions for re-sizing so you can follow the directions as you go. Nancy has also put the important measurements on the patterns for you to follow. This can be copied onto paper.
Here are the patterns for the frame, (arms and legs) and seat base. This needs to be copied onto card stock, you will need 5 copies of the legs and arms. You will need 6 copies of the seat base.
This is my copy of the chair for making the gluing forms.
I cut out the part of the pattern to make a form for the arms.
Referring to the colored drawing above I will be using the blue line.
Cut 3 of these.
I am going to make the forms from foam core. I will be using my scroll saw. You can cut the foam core pieces one at a time using a craft knife.
You will need 13 pieces.
I used tacky glue to glue the foam core together.
I have two stacks with the patterns glued to the tops.
I have two stacks because my saw will only let me cut so high.
Here are my stacks of foam core ready to cut.
The form for the legs/seat base will be 10 layers of foam core, I have two stacks of 5.
I used the whole pattern for the legs/seat base form.
I have cut out one stack for the arms. The blue line is for the arms, the blue line turns green at the end, follow the green line to the end.
Note: Make a mark on the patterns where the pattern stops and starts so you can line up your card stock pieces. Refer back to the drawings.
I've cut out one stack for the legs/seat base form.
That's the orange line, turning into the green line.
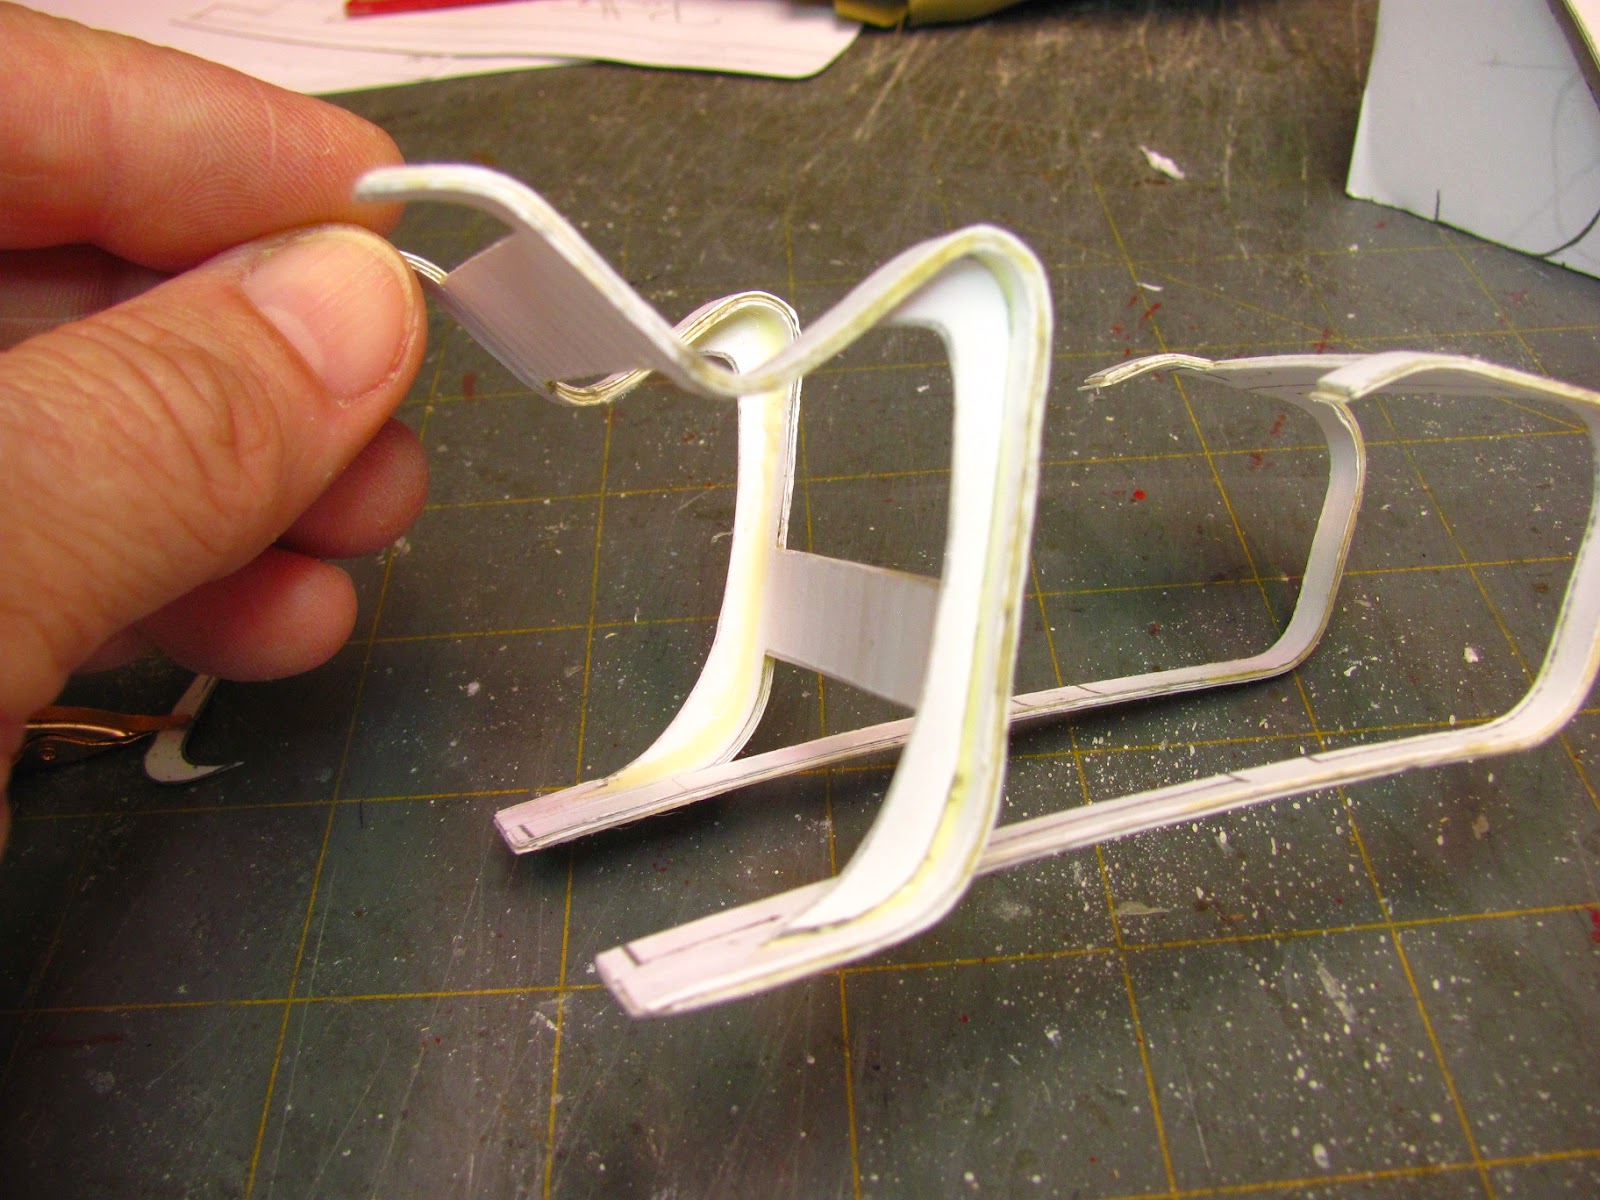
Here are my stacks of foam core cut out for the forms.
I've glued the two stacks of arms together, use tacky glue.
The two stacks of the legs/seat base have also been glued together.
You should have one more pattern of arms and legs/seat base. Cut them apart just as you did before and glue them onto the other sides of your forms.
Now, for the fun part. I love laminat'in!
Once you've got the patterns sized print them onto card stock and print 5 each of arms and legs and 6 of the seat base.
I am using yellow carpenter's glue.
I am working on the arms.
I have applied glue to the top, wait to apply glue to the rest of the card stock. Press the card stock onto the form, hold in place, apply more glue and press the card stock together and onto the form.
Press the card stock onto the arm form, aligning the ends with the marks you made previously.
You can use rubber bands to hold everything but you don't have to.
I don't use rubber bands all that much, they will wrinkle the card stock sometimes.
Because glue will leak out I will carefully remove the card stock after every layer is put on to un-stick it from the form.
Wipe the glue off and press the card stock back onto the form.
Holding the card stock at a few key places for a short while will be fine. The card stock will keep the shape. Be sure you have the ends lined up.
Telegraphing. Look closely at my ends. Because we are using one size of the pattern and we are gluing it over and over on top of itself, every piece of the card stock seems to become smaller.
You can see this at my ends, so when you see this happening don't get too upset.
I have all my layers glued together.
Do you see a little telegraphing going on at the horizontal strip at the top? You can trim this if you want. It will be covered by the seat base later, though.
Do you see that I am not using the rubber bands to hold the card stock down? If you press and hold, the glue will start to dry and hold everything in place.
To start the legs I applied glue to a few inches of the long strips.
Don't apply glue to the whole thing, the glue will dry too fast for you to get everything straight and in place.
Press these two pieces together, hold to the form and apply glue to the rest and press onto the form.
I have the first two pieces of the legs on the leg/seat base form. I am holding them with a rubber band.
I have applied glue to the bottoms of the legs again.
I am starting my legs a little short every time so that I won't telegraph on the top of the legs where it might show.
I am applying glue to the rest of the legs. I will press the card stock together and hold.
Apply your glue a little at a time, lining everything up.
Here are my 5 layers of card stock arms and 5 layers of card stock legs.
Remember to remove the pieces and wipe the excess glue off. Press the pieces back onto the forms and hold.
I really recommend you leave these to dry overnight, please.
Next day and you have removed the arms and legs from the forms.
Cut a couple of small scraps of card stock and glue to the bottom of the legs, at the ends.
The legs are glued inside the bottom of the arms.
Trim off the extra scrap card stock.
I haven't trimmed off the card stock here but I wanted you to see the bottom of the chair with the arms and legs glued together.
For the time being slide the arm form back into the arms and press everything into place. This is just to keep everything in shape.
Tigger is on the table!
I am beginning the seat base. We will use the leg/seat base form again. I am using rubber bands here because I want the neck curve to be very distinct.
Only glue the top little bit, just past the neck curve, place the rubber band and apply more glue and press into the form.
I am applying more glue to the seat base.
Really press the card stock into the curves, we want them to be distinct.
I've got all 5 layers of card stock glued together for the seat base. You have one extra, that's for the back cover when we upholster the seat base.
Really want to let this dry overnight, again.
Just a trial fit, don't glue the seat base in, yet.
Use some sand paper to sand smooth the edge of the added card stock on the bottom of the chair.
I have more sanding to do.
At first I didn't think there was anything added for strength at the arms. I looked at a lot of views and found that a brace is added.
Glue two scraps of card stock together with yellow glue.
Set the arm form onto the doubled card stock and trace the around the top, front and bottom.
Nancy made an arm brace example for you to look at. Everyone cuts differently and I didn't want to call it a pattern as it may not fit. I am showing you how I made mine, giving an example to look at.
This is what I traced.
I made two braces.
These braces fit into the middle of the arms.
I've got the braces glued into the arms, in the center of the strip.
For the upholstery I am using tacky glue and glue stick.
I use Thermolam Plus for my filling or batting for upholstery. I buy it from Joann's or Wal-Mart.
DO NOT BUY the fusible.
The first layer of Thermolam Plus is about an 1/8 smaller all around the seat base.
The second layer is trimmed even all around the seat base.
I've put the seat base back onto the legs/seat base form and put rubber bands around the neck curve and seat curve.
I want these curves distinct.
Not one of the examples I looked at were painted. I can not make this from wood, I would need positive and negative forms for pressing.
So, I paint. I've read that designers say you should have a little black in every room, hence the black frame. I'm no designer so I'll take advice anytime!
I'll paint two or three times and then give it a coat of acrylic varnish. You could spray your varnish on.
I am using an avocado cotton. I still want to paint the fireplace orange.
I have an almost 90 degree curve at the seat. Upholstering that curve with cotton is going to be difficult. If you find a thin knitted velour, something with a little give it will be very easy to upholster that curve. Maybe not velour?? So 70's.
First glue the top edge to the back side of the seat base.
Make a "V" cut on each side at the seat curve.
Trim off the extra fabric, leaving enough to glue to the back side.
Make a "V" cut at the neck curve.
You could make a couple of more "V" cuts in the neck curve to ease your fabric into the curve.
Glue the sides down between the neck and seat curves.
Pull up the corners at the top.
Why did I glue them down? I glued them down to hold them for the time being.
Glue the neck curve down.
Pull the corner apart.
Apply glue into the corner.
Pull the corners together, pressing the fabric into the glue.
I bought Tigger a cat bed for the table. She would ALWAYS lay on my Thermolam and fabrics no matter what I put down for her. Now, all I have to say is, "Uh, uh" and she goes to the bed.
Back to the chair . . . Cut the fabric out from the corner, right up to the corner of the seat base. Trim the triangle of fabric to a sliver.
Apply glue to the corners and pull on those slivers of fabric tightly and press into the glue.
That's the top part.
Now, for the bottom,
Glue the bottom down to the back side of the seat base.
I've made "V" cuts along the sides.
Doesn't look good.
I am using my thumbnail to push more fabric over the side. I only need a tiny bit more because I will be putting piping along the edge and it should cover up any problems.
Why do you think trim was invented??
The bottom corners are curved.
Cut "V" shapes out around the corners.
Apply glue to the corners and press the fabric into the glue, smoothing out the wrinkles.
I press it back onto the form to check the shape.
This is one more of the card stock seat base patterns.
This is for the back cover of the seat base.
Make a trial fit of the back cover by folding it onto the upholstered seat base. It should smaller, just by a fabric's thickness all around.
This is the glue stick I buy.
I always use glue stick to glue the fabric to the card stock if the fabric is going to show. The glue stick doesn't soak through like tacky does.
Apply glue stick to the card stock back cover and press the fabric onto the card stock.
Trim the fabric around the back cover.
Apply tacky glue around the edge of the card stock.
Fold the edge of the fabric over and press onto the glue.
Apply tacky glue to the back side of the seat base.
Press the back cover onto the glue of the seat base.
See that seat curve, I went back and pushed more fabric over the edge and fixed it.
I am going to make piping.
I use this for the core of the piping.
The size of thread is 10.
I would like to say brand doesn't matter. I bought some really cheap crochet thread and had a terrible time. I thought I had lost the ability to make piping. I found this brand again and I am not having any problems. You will have to try out the brands in your area.
First I make a diagonal cut across my fabric, a bias cut. This comes from years of sewing full-size. The bias cut will bend around curves easier. Being that this is miniatures, maybe it doesn't matter, I do it anyway.
I apply a line of tacky glue along the edge.
Just a closer picture.
Smear the glue to the edge.
Lay the crochet thread onto the glue, pressing it in as you go.
Fold the edge of the fabric over the crochet thread.
The crochet thread has to be in the fold.
Trying to push the crochet thread into fold afterwards is not very successful.
My fold.
I am using my fingernails to press the fabric into the glue.
I flip the fabric over and press into the other side.
I do this several times flipping back and forth to get the fabric glued together.
If your fabric has a hard time gluing you probably won't be able to make piping with it. Use twisted embroidery floss for your piping,
Using sharp scissors, preferably scissors you only use for fabric, cut right up to where the crochet thread is.
After I have the piping cut I roll it between my hands and on my table to get it round.
Apply tacky glue in the seam between the seat base and the back cover.
Press the piping into the seam and glue.
A-ha! The piping covered up the thin area.
The piping is finished.
Another trial fit.
I've put a varnish coat on the frame of the chair.
I've applied tacky glue to the two horizontal strips on the arm section and the leg section.
I am clamping for a short time.
I have mat board under my clamps so no marks are left on the upholstery.
Showing where my clamps are.
More pictures of clamps.
Finished.
I want to say something about scale. I used measurements from what I found on-line. I made this chair a little larger:
their's 26" wide, mine probably 27"
their's 55" long, mine probably 60"
their's 32" high, mine probably 35"
This "modern" furniture from the late 1930's was small in scale, not at all like our furniture today.
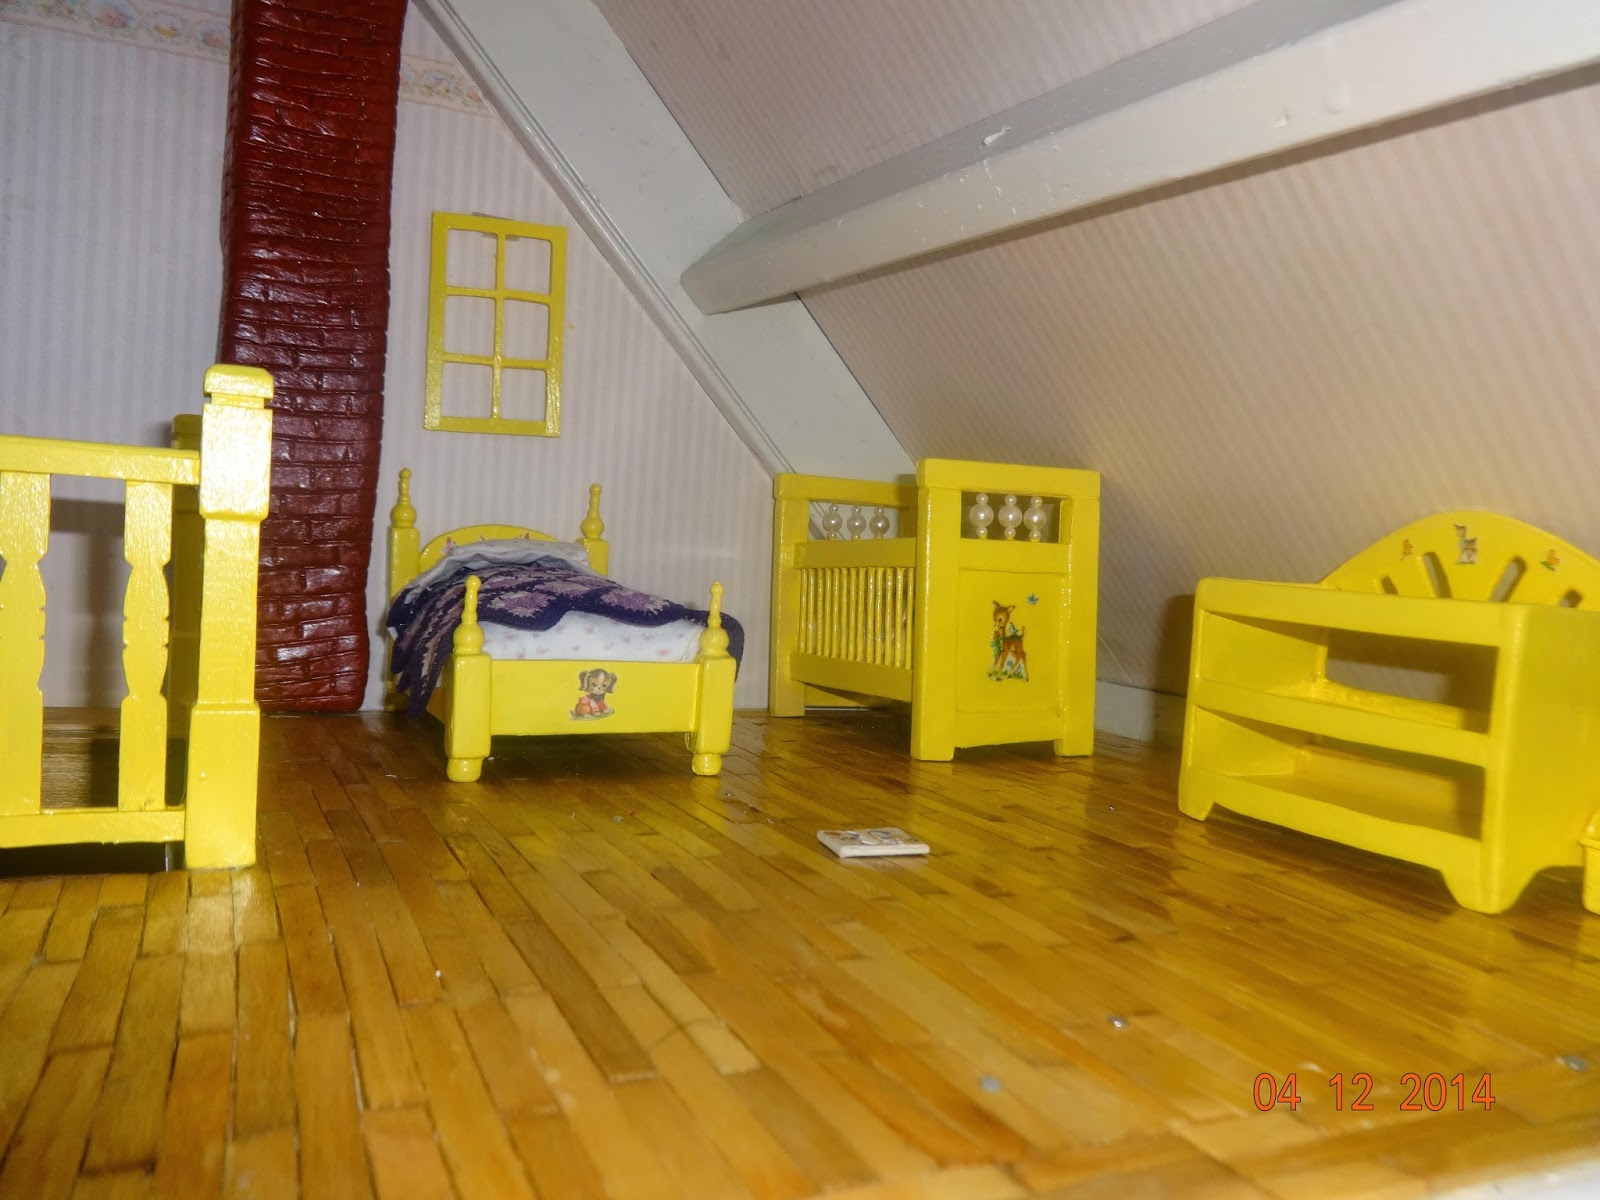
I put the chair into my One Room Apartment room box and it fits nicely.
This sofa is made from measurements from a contemporary full-size sofa and the chair looks a little out of size.
Keep this in mind when you are pairing it up with other pieces of furniture.
I haven't done anything with the structure, I am sorry to report. I love making the things that go into structures the best.
The chicks are out in their own little chicken house. It's a converted playhouse my husband build years ago for our oldest daughter. It has a nice screened in front porch so the little chickens can see and peep to the big chickens and they will all be friends when they are big enough. They won't be laying eggs for us until late August or September.
I hope to see some pictures of this chair and share them in the Follower's Gallery.
TTUL
Kris
Have fun, Expand on it, Make it better . . .
Just Keep Making Minis!!