

This table is from my corner cabinet dollhouse that I will never finish!
This table is a copy of one from an Ethan Allen furniture catalog. The table on the left is made entirely from basswood. The table on the right is made from mat board with a basswood top.

Same table, different lighting.

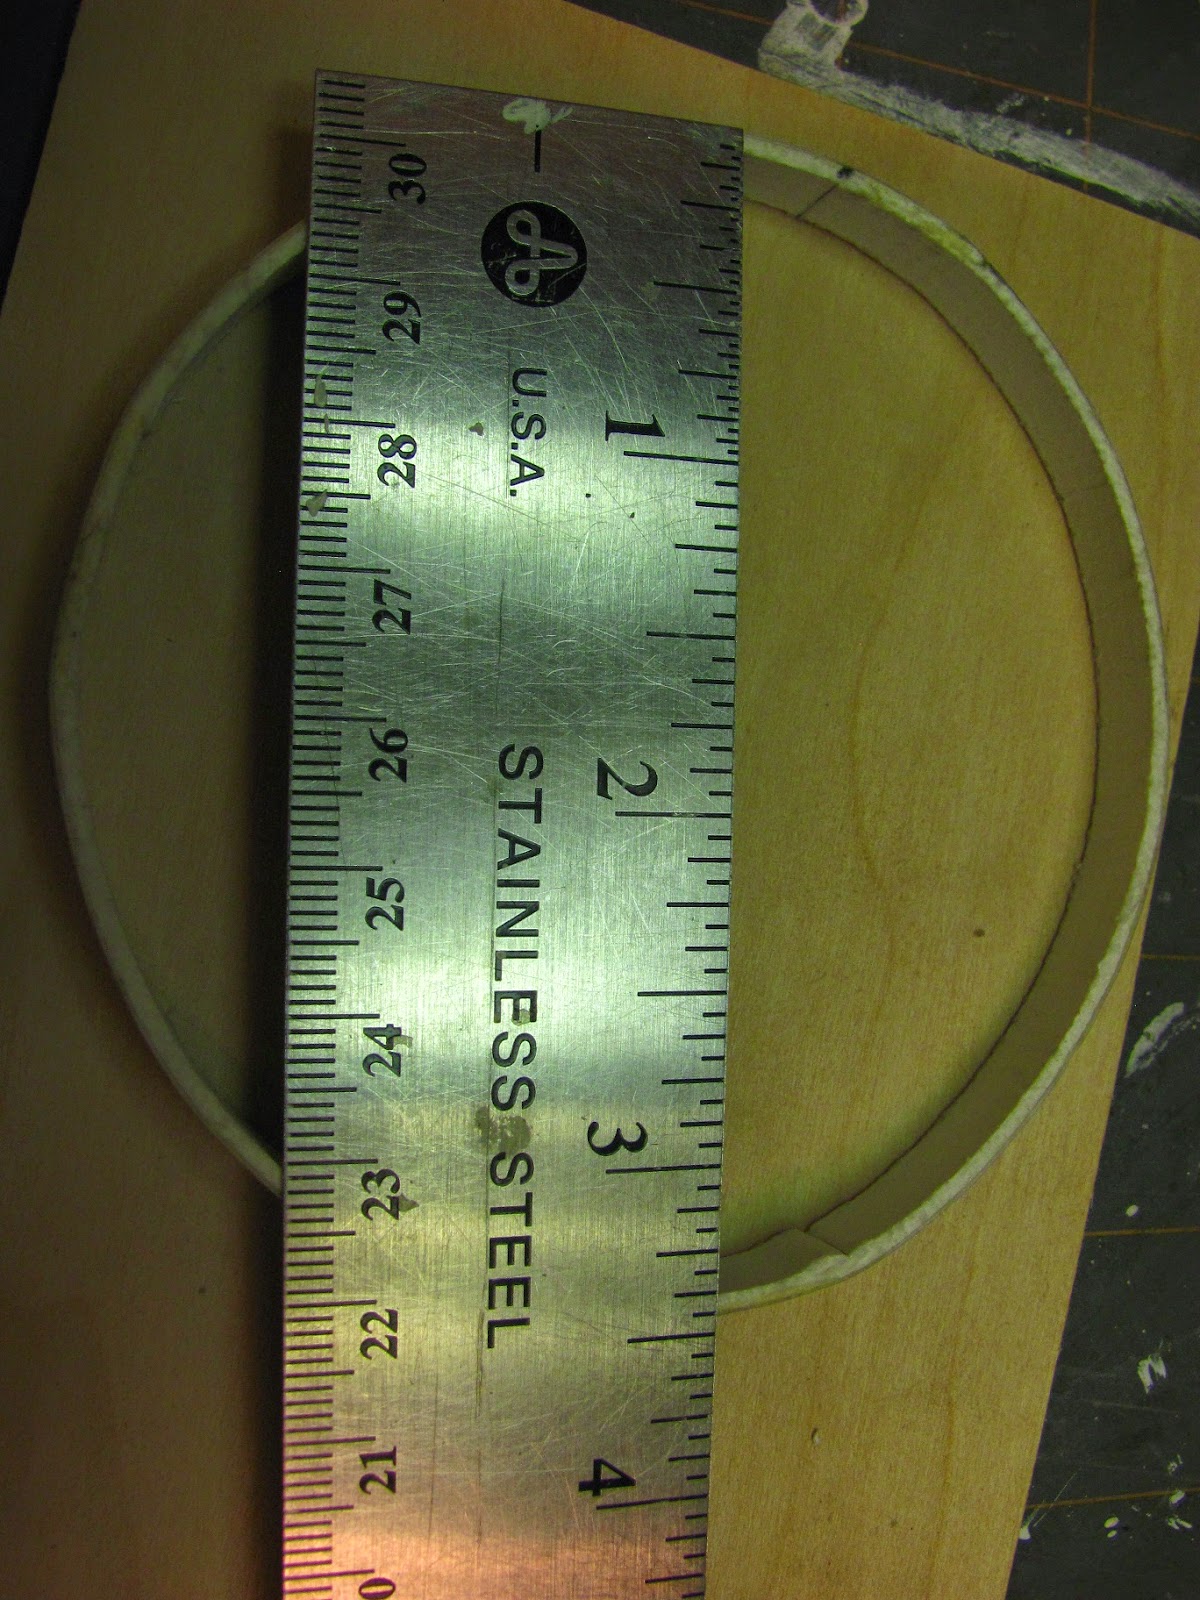
I looked around my house for a circle shape for the apron of the table. I would have liked one a little bigger but I had to settle for a can of tuna. The can measures 3 5/16" diameter.

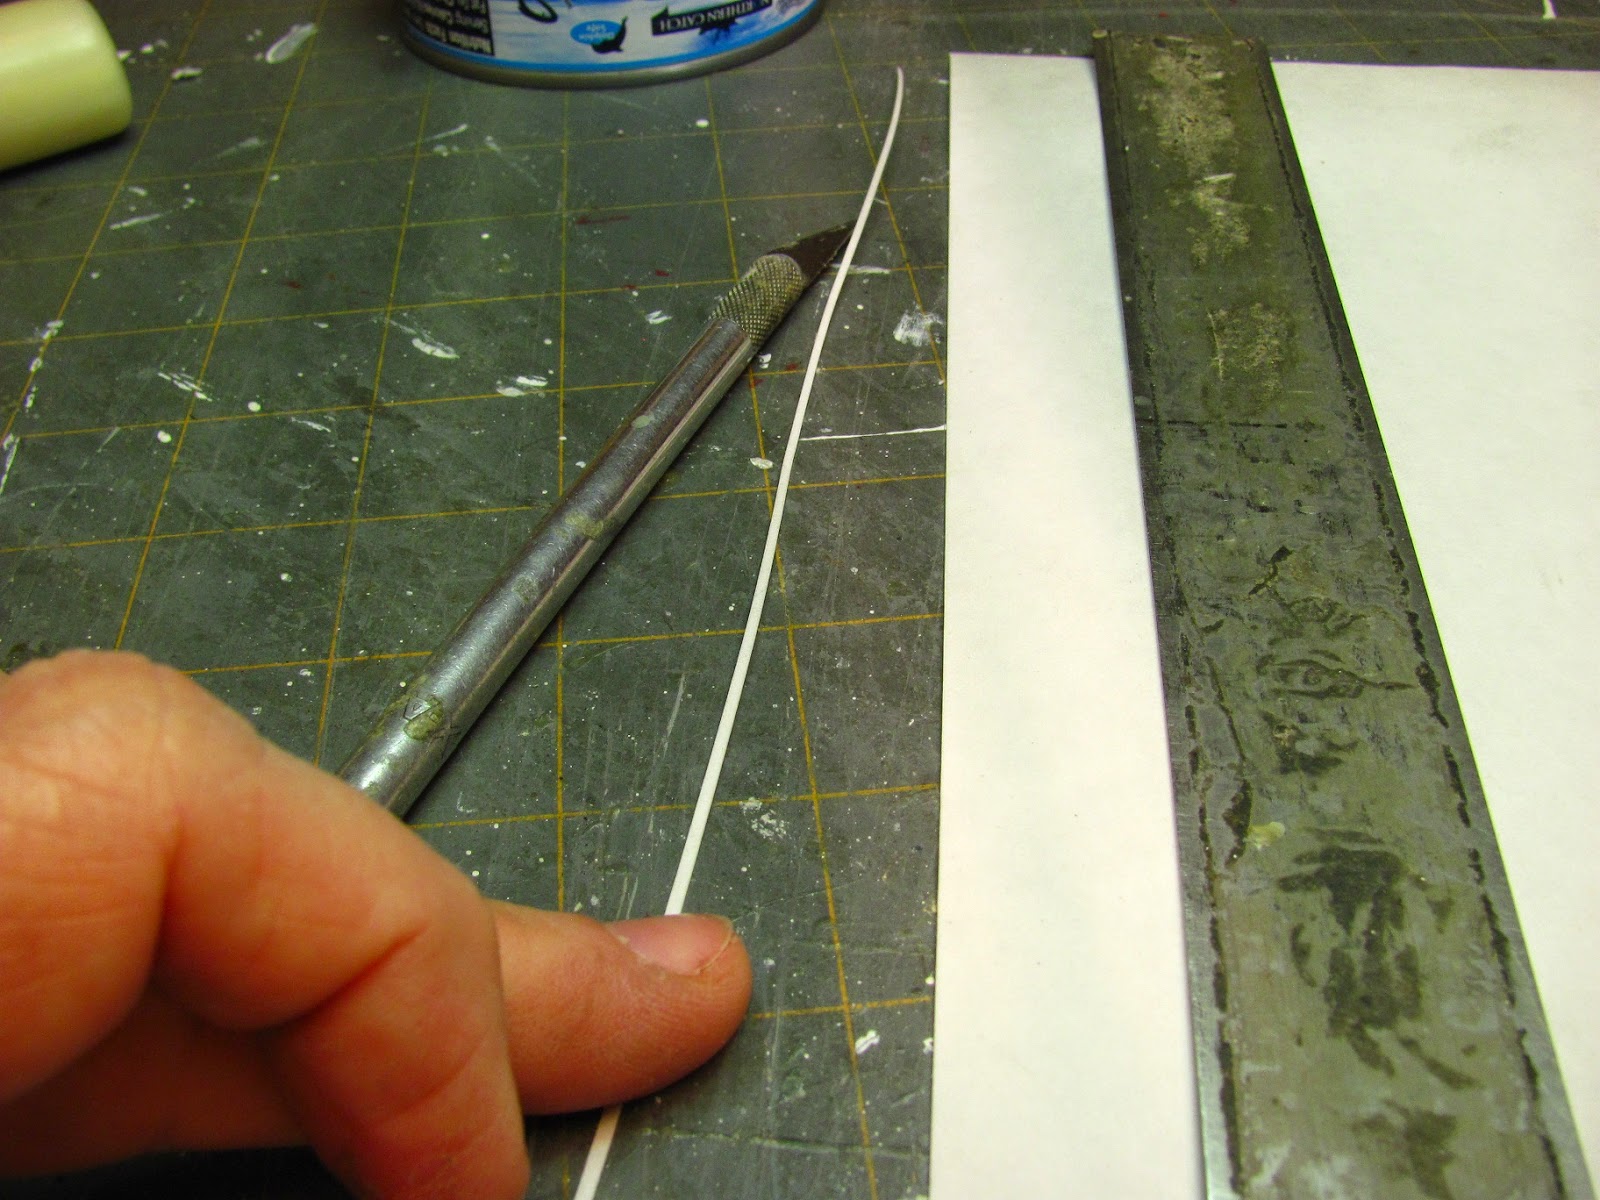
Cut a strip of mat board 5/16" wide.
Wrap it around the can.

Overlap the mat board about a half inch.

Mark where the mat board overlaps.

Mark on the top edge of the mat board that's behind the top layer. Cut off the extra.

I am showing you how the apron should look when you have finished cutting it. I thought it might help with the directions if you knew where you were going.

Cut on the line your drew, not through, about halfway through.

Peel up the layers and remove.

Move to the other end of the strip of mat board and on the opposite side draw a line matching with the mark you made on it's edge.

Did that.

We are cutting on the other side of the mat board, not the same side as the first cut at the other end.
Cut about halfway through.

Peel up the layers and remove.

This is what it should look like.
One of these should be on one side of the strip and at other end this cut should be on the other side.

Back to this picture.
The ends should interlock with the peeled sides facing each other.

Please use yellow carpenter's wood glue to glue everything together.
I use Elmer's or Titebond.

Apply glue to the peeled surfaces, overlap and press together.
Make sure the apron isn't sticking to the paper label, you could take the label off, too.

Cut a strip from card stock about 3/16" wide.
Cut another strip about 1/16" wide.

Glue the strips onto the apron leaving about a 1/16" between them.
This is going to add some surface interest, something for the dirty paint wash to stick into when we are finished.

Did anyone get a scroll saw for Christmas? I hope so.

Here is the pattern that Nancy made for us, nice and clear. I have instructions on the left side of the blog, "Things to do, Things to see", HOW TO RE-SIZE PATTERNS.

You will need three layers of mat board for each leg. Print out a pattern and trace onto mat board. Make sure you have a new blade in the knife, make shallow cuts first. When you have them all cut out glue them together in stacks of three.
I am going to use the scroll saw to cut out the three layers together.
If you have a saw and want to use basswood for the legs buy 3/16" thick basswood and cut the legs.

When I glue mat board together I move the pieces around until they begin to "tack" up, in other words until they are hare to move around. This keeps them from peeling back from each other.

Here are my stacks of mat board.

I've printed two copies of the legs and I am using this glue stick to glue the paper copies to the mat board.

I've got my paper pattern on the mat board and I'm ready to cut.

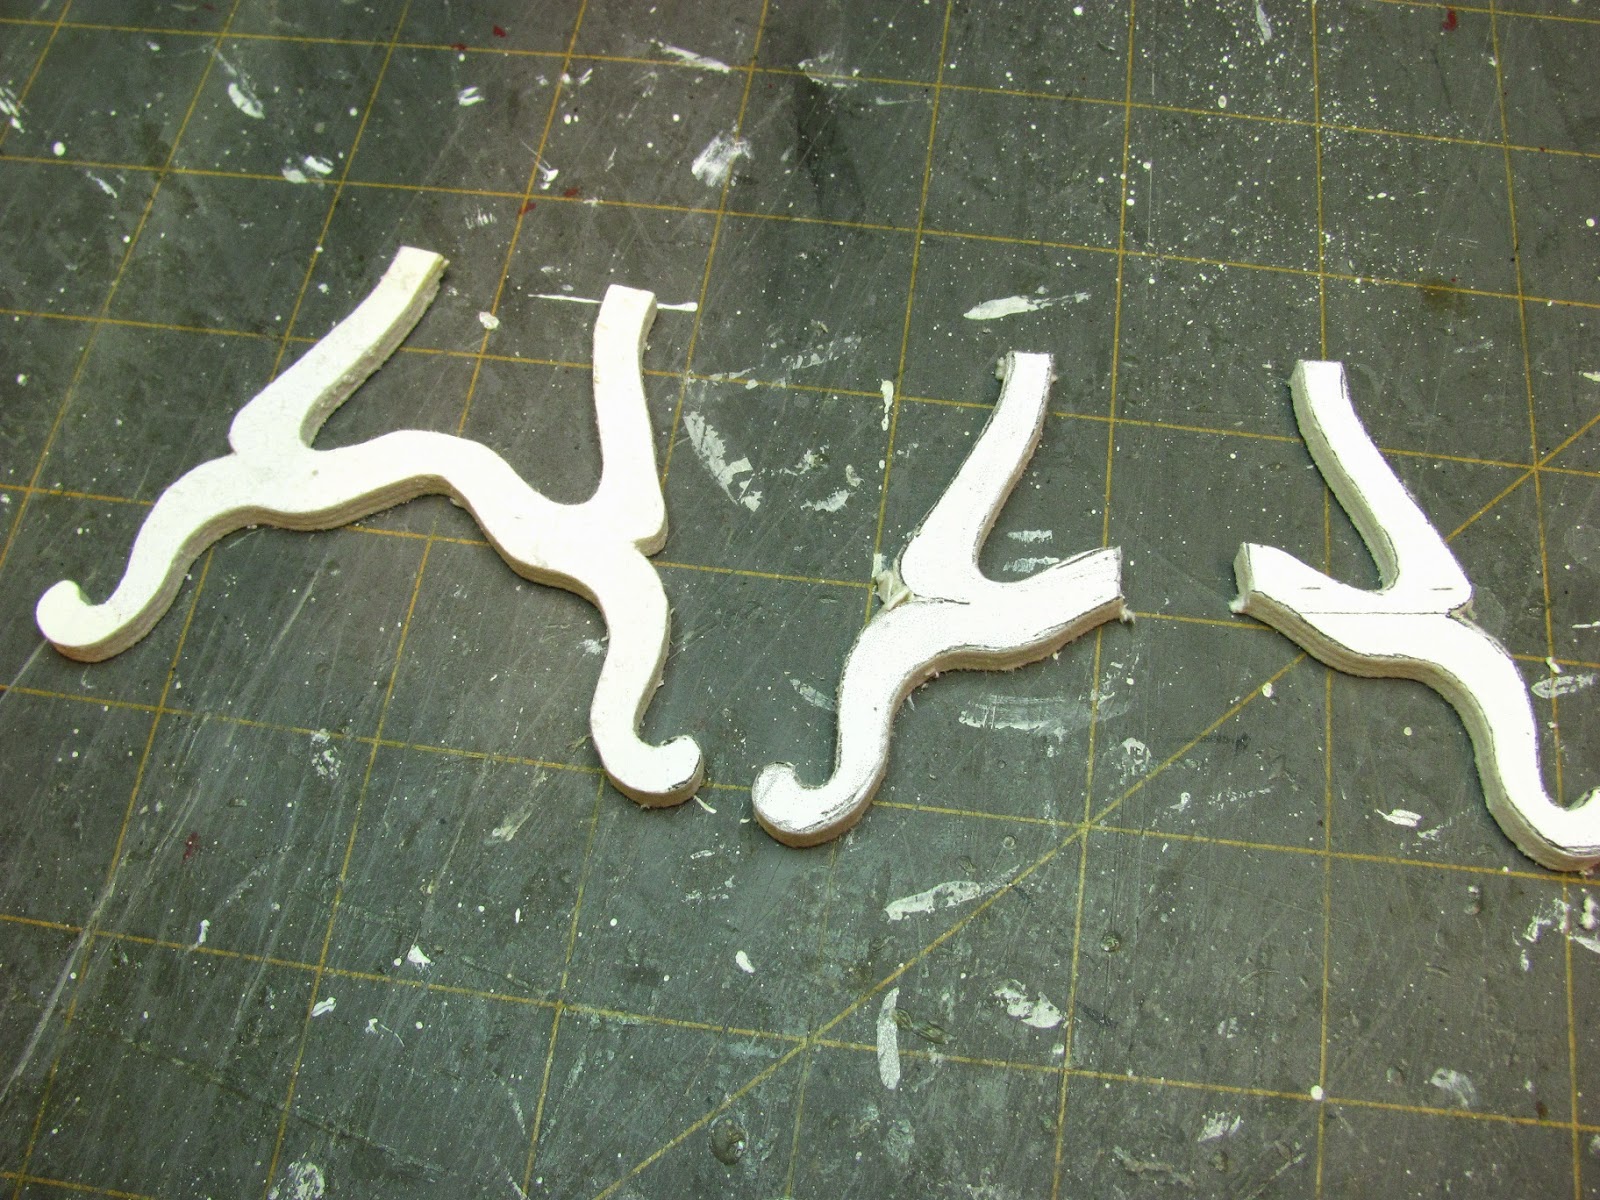
Here are the legs cut out.
If you are cutting the legs singly you will glue three layers of legs together. Match up the edges and glue using wood glue. Press together and hold for a minute or two.

Measure how thick the stack is. It should be around 3/16".

Draw a center line on one leg.
Now, measure 3/32" on each side of center.
Cut this center piece out.

We are going to use a toothpick to dowel the legs together.
Choose a drill bit the same diameter as the toothpick.

Mark the center on the set of legs you did not cut apart.

Use a "T" pin to make a hole for the drill bit to start in.

Drill a hole.

Cut a small piece of the toothpick off and slide into the hole.

You are going to drill a hole into the cut end of the leg. Do you see where the toothpick is setting? That's where you will drill.
When drilling the hole it's important that you hold the leg very firm and close to the edge where you are drilling. Start the hole with a "T" pin, this helps when drilling into edges of mat board.

I am sorry but I can't drill and take a picture at the same time.
Apply glue to the toothpick and insert it into the hole.
I am using a small clamp to hold the leg until it's dry.

This what it should look like when the clamp is removed.

I will admit that this could have been done right after we cut out the legs; so if you are reading this before making the table you could move this step up.
I didn't, so here goes.
Place card stock on the edge of the table and lay a table leg on it as I have in the picture.

Trace around the leg. Trace two, one for each side.

Mark the leg you have just traced.
Even though we followed a pattern there will be slight differences.

Here are two legs traced onto card stock.

Cut out the leg leaving a healthy 1/16" on the scrap.

Apply wood glue to the leg.

Press the card stock piece onto the leg.
We want a little edge showing for surface interest.
This is done to each side of each leg.

Measure the width of the leg.

Cut strips of card stock the width of the legs.

The card stock is going to be our veneer to cover the edges of the mat board.
Apply wood glue to the edges of the leg.

I used the back of my craft knife to press the card stock into the indent of the leg.
Keep a wet cloth handy to wipe your fingers. When the glue gets on your fingers it will stick to the card stock and rip it back off.

I used a toothpick to push the card stock into the curl of the foot.

I ended the card stock in the center of the legs.

My outside edges are covered.
I also covered the edges on the inside.

Use a circle template to trace a 1 1/2" circle from mat board.

When tracing the circle make the marks that quarter the circle. This makes gluing on the legs easier.

Line up the legs with the marks and make sure the legs are equal distance from the outer edge of the circle.
Glue the legs on.

I put a weight on my legs. I have a couple of these. I found them at antique malls, they weight 8 oz. and 10 oz. I put them both on this assembly and it held together for drying. You could weight your legs with a can of vegetables, just don't go over 18 oz. Try a little at a time.

We are going to use wood for the top of the table.
This is wood I bought from Michael's. They have changed their brand from Midwest to Revell. I like Midwest better, it seems to be of better quality.

I have always found Hobby Lobby's wood to be satisfactory. I haven't been to Hobby Lobby for over a year, though so I don't know what they carry, now.
You will need a piece of 3/32", 4" wide and a piece of 1/32", 4" wide.
Why some pictures load this way, I just don't know.
Measure the diameter of the apron.
You want your table top to have 1/8" over all around.
The measurement of the table top should be 1/4" more that the diameter of the apron.

That measured out for me to be 3 11/16".

I used a compass to draw that circle.

Cut your circle out and do a trial fit with your apron. If you like the fit keep it, if not adjust the size and make another card stock pattern to try.

Trace the pattern onto the 3/32" thick basswood.

Put a new blade in the knife if you haven't all ready.
cut the table top away from the rest of the wood.
Make shallow cuts first. Pressing hard right off may cause you go get off your pattern line.
Keep your free hand behind the knife blade.

I did not cut this with my scroll saw
I cut this with my craft knife to see if it could be done. It can be. You have to clean up the edge with sandpaper.

I used 220 grit sand paper to round off the edge.
We are trying to make an "ogee" edge using two pieces of wood glued together. This type of edge is usually on one piece of wood and run through a large machine called a shaper.


I have two pictures here. This is for the top piece of wood, the 1/32" thick piece.
The bottom picture shows the larger, by 1/16" of the two. The question is how much do you want showing of the bottom piece, this part that shows is called the reveal.

I ended up cutting two, one of each size.
The 3 9/16" will leave a 1/16" lip all around the edge of the table. This is much more life size like. Just too small for me, so I sanded it a bit.
Sometimes in miniatures it's all about cutting on the inside of the line, on the line or on the outside of the line. Where you cut can make a big difference.
Make your pattern for the top and study how much reveal you like and then cut it out of the 1/32" think basswood. It's better to cut a few patterns than to cut out more wood than you need.


Here are the two pieces.
I chose the bottom one that I sanded a bit.

I applied wood glue and placed my top onto the bottom.
I smeared the top around a bit for it to tack up. Then I lined up the edges and made sure they were equal all around.

I clamped the top edge down. You might think all of these clamps are over kill, not so when gluing wood. The wood can and will curl up when it's this thin.
If you haven't got the clamps use can goods from the kitchen. Make sure you are covering the edges.
Let this dry over night.

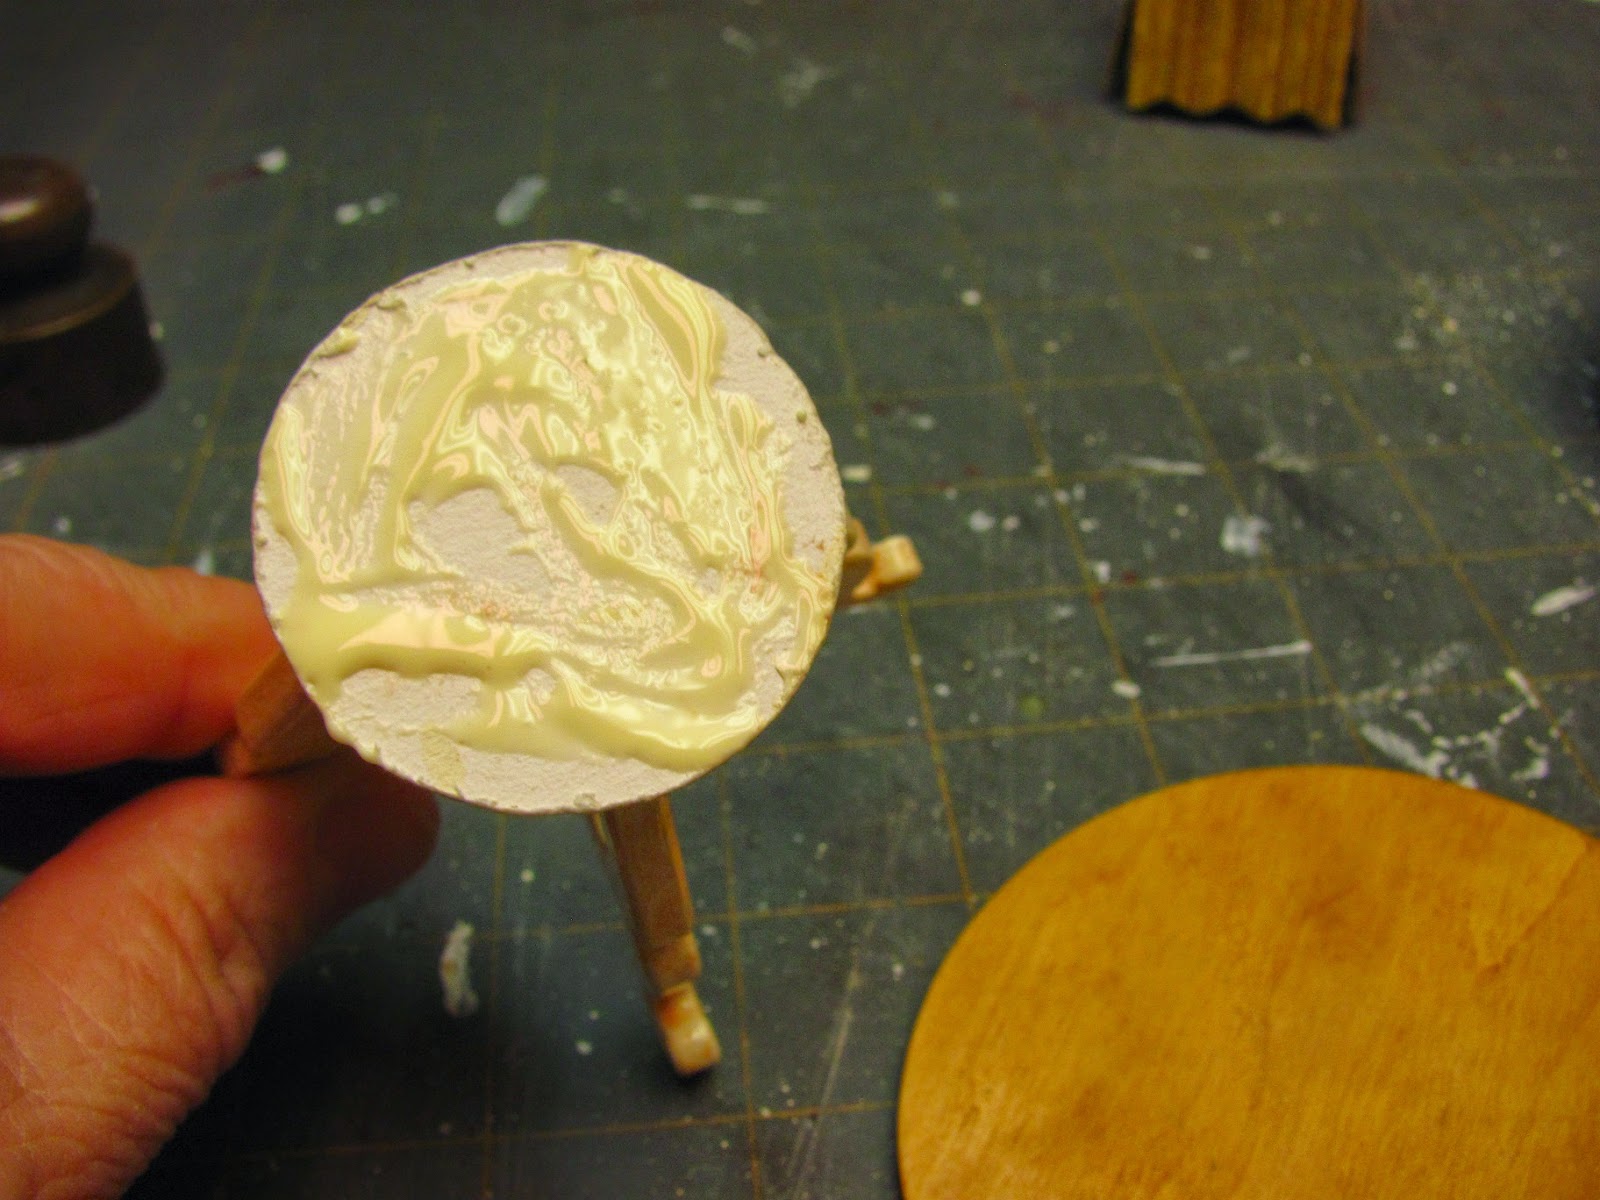
I painted two coats of ivory craft paint onto the apron and legs. Put the apron back onto the tuna can to dry.
It would be nice if you let this dry over night, too
After the paint is dry sand smooth with 220 to 320 grit paper.
Paint on a smooth finish coat and let dry.

I am going to apply a dirty wash to the apron and legs to add some surface interest.
I am using Burnt Sienna and water. The thicker the mixture the harder it is to remove so make a thin mixture and try it out until you get the look you want.
This gives a reddish tone to the wash. You might want to experiment with other browns to see if there is something else you would like.
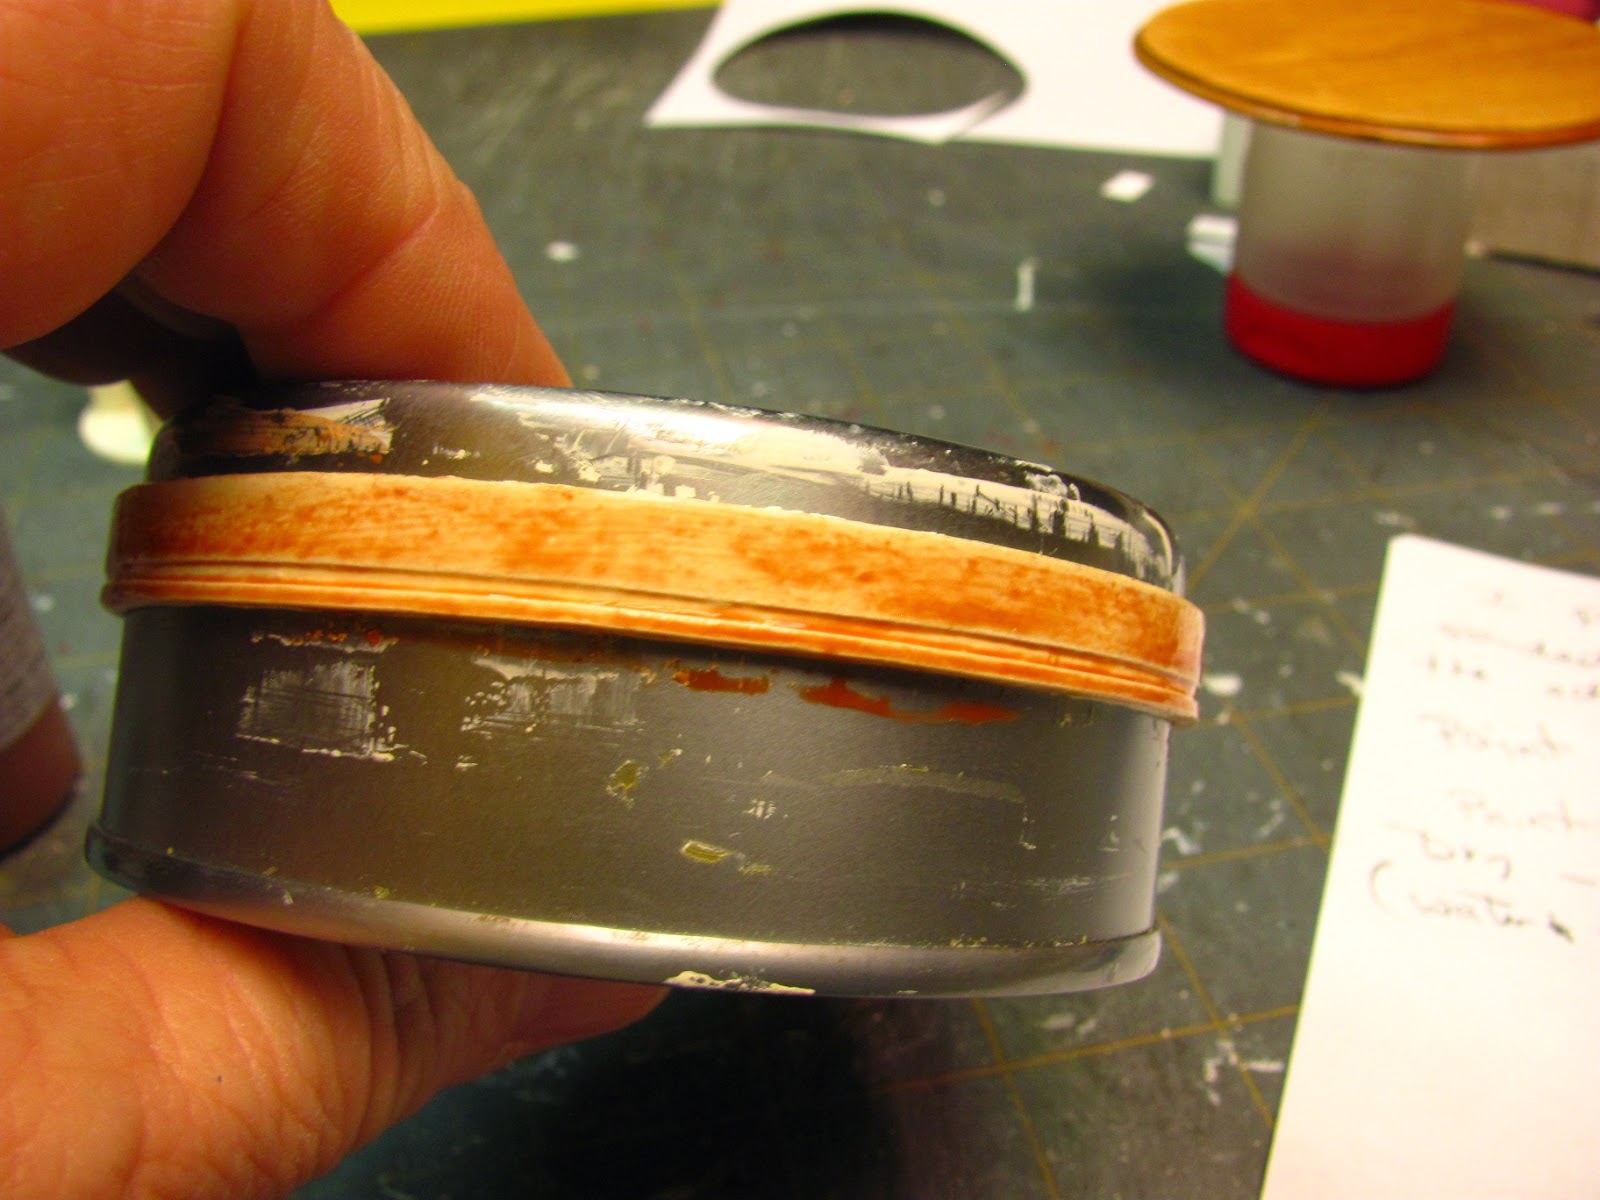
I brushed on the mixture.

And dabbed off.

Admittedly I have a heavy hand when it comes to adding the wash.
This needs to dry over night so that the acrylic finish you apply won't move or dissolve the dirty wash.
I used a clear satin acrylic finish that is the same brand as the paint I used. One coat is enough.

I have a collection of stains.
I used a golden mahogany on this table top, it's by Varathane.

I have my stain on. I let it dry, read the can for application instructions.
I also have two coats of a clear finish on it. I am using stain and finish that has to be cleaned up with paint thinner.
I am not using water base stains and finish. Do not mix the two, either.
The finish is satin.

I let the first coat of finish dry, applied the second and let it dry.
I then sanded with 600 grit paper and applied another coat of finish and let dry.
If you want more coats of finish sand between with the 600 grit paper.
Apply wood glue to the top of the leg assembly.

Center the leg assembly onto the underside of the table top.

Center the apron onto the underside of the table top and glue.

I weighted the leg assembly and apron down to assure a good bond.

If you would like to send pictures of your finished tutorials please send them to:
camceiling@frontiernet.net
If you have any questions about anything please send them to the same address.
Have fun, Expand on it, Make it better . . . .
Just Keep Making Minis
TTUL
Kris