

www.hankypankycrafts.com
* Miniature Flowers
*Flower Making Supplies
*Colored Paper
I went to Office Depot to buy single sheets of paper, they sell this in the area that the self serve copy machines are in. I bought some red, grey and green. It's 2 cents for an 8-1/2 x 11" sheet. A word about paper, be on the look out for colored paper in note pads, post its, things like that. You know, Taco Bell has changed their packaging now, but a while back they wrapped the tacos with the best paper for marigolds, the colors were perfect.
For this tutorial I did use Ruth's sage green for the flower bases, that's the top sheet in the picture above. You could use the grey, though.
Here are the patterns for the tutorial:

As usual transfer this to a program that you can change sizes in and adjust until you have the square to 1 inch. I would prefer that you have a circle and oval template for those, but if you don't you can make do with the patterns I've drawn. If you do use my patterns, cut on the outside of the line.

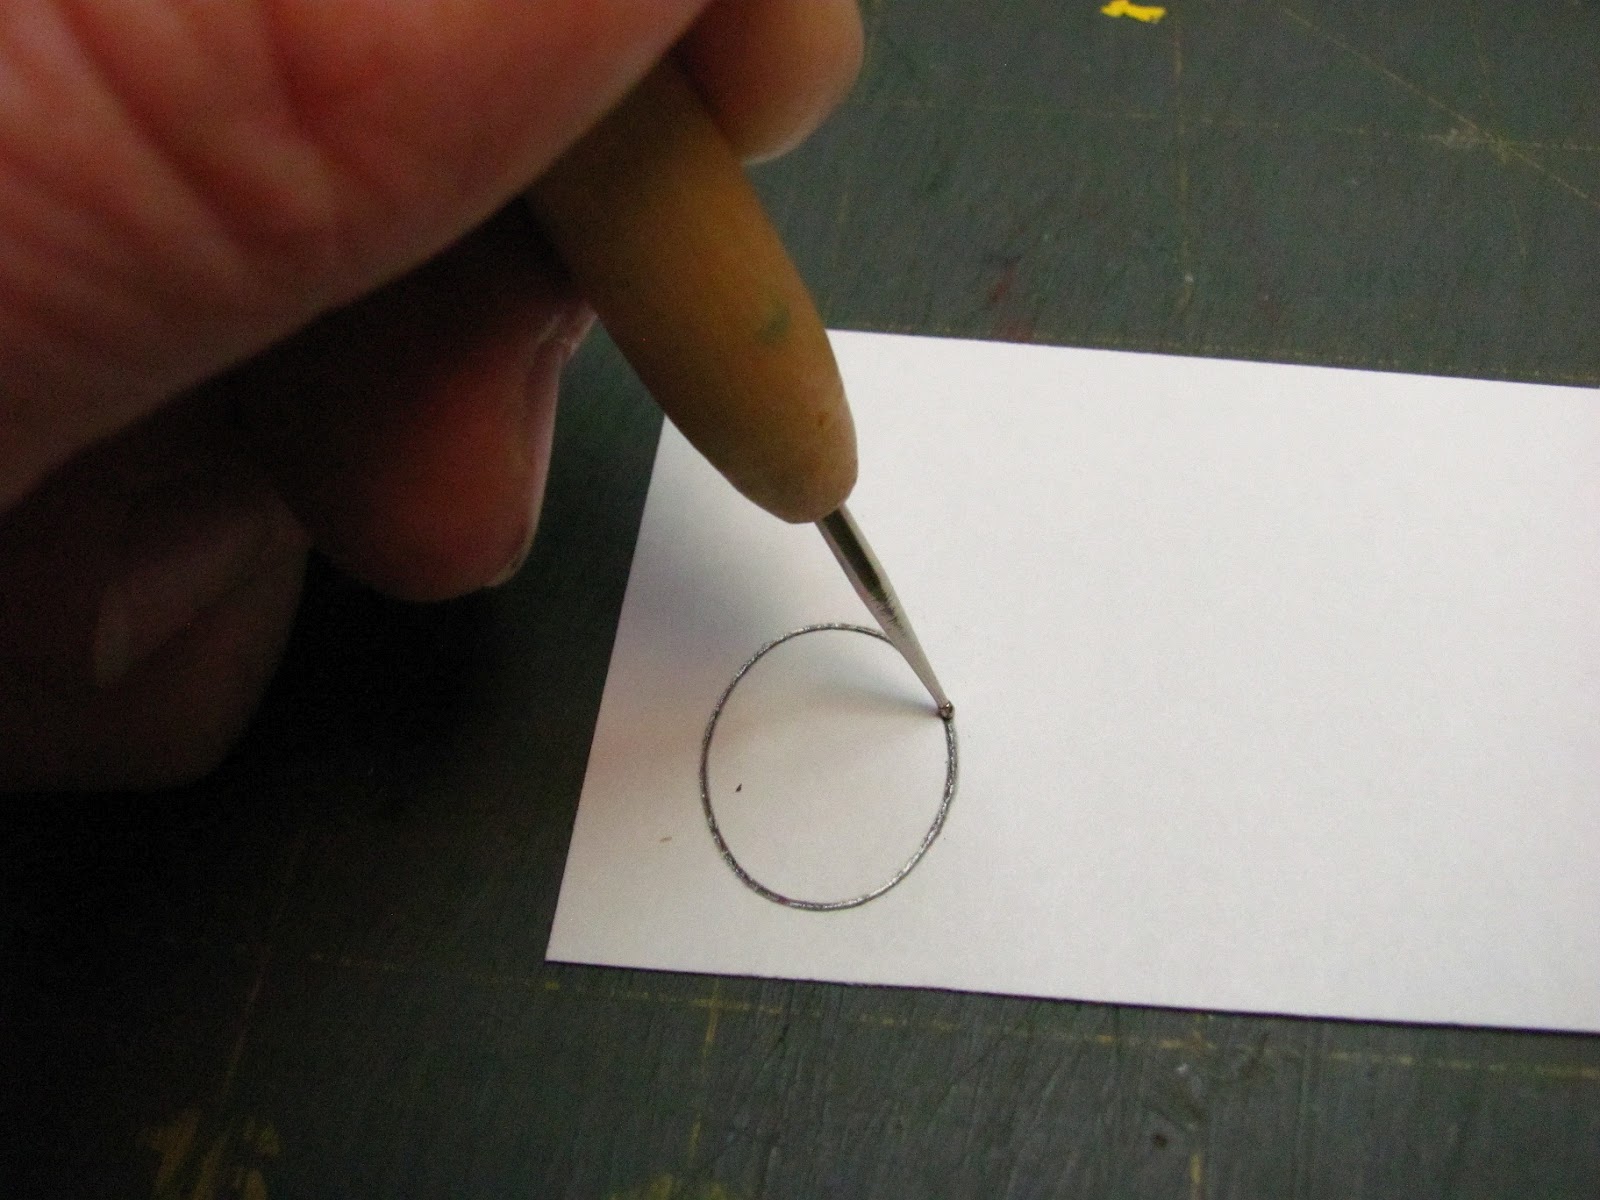
I've used my circle template to draw a 11/16" circle. This is for the flower bases, the part that the geranium flowers are glued onto. I make a circle so that every base will be the same size. For my arrangement of geraniums I used 13 flowers, I like to make a few more, just to be sure I will have enough. You can always use them for another project.

Cut the circles out, I am showing just one here.
Put it into a bowl of water.

Leave the circles in the water until they absorb all the water they can, they will get darker.

Roll the circles into little balls. Squeeze them while you roll, throw them back into the water and roll again. Get a tight ball, you can't see any folds in mine.

There are some of my flower bases ready for the next step.

If you all ready have flower stem wire, use it. If you don't you can use green paddle wire, 26 gauge.

Cut your stems at least 2 inches long.

After the flower bases are good and dry use a "T" pin to make a small hole in them. Just enough of a hole to set your drill bit in.

Use a drill bit a little larger than the wire.
Set your drill bit into the hole you made and drill, you don't have to go through, but it's all right if you do.

Glue the wires into the holes of the flower bases. I used yellow carpenter's glue, you could use tacky for this.

To make the geranium flowers I used a 3/16" paper punch. This punch is the one that's available in the office supply department, nothing special.
I also used 2 double ball styluses and my tweezers.
If you save your old ball point pins you can use those as a stylus.

I used 2 layers of craft foam to shape the flowers on.
If you don't have craft foam you could use a mouse pad, I haven't used that myself, but I have heard of it being used.
You can also put a wash cloth in a plastic bag and use that. I have used that successfully.

Fold a couple of paper towels and get them wet, I'm talking wet.
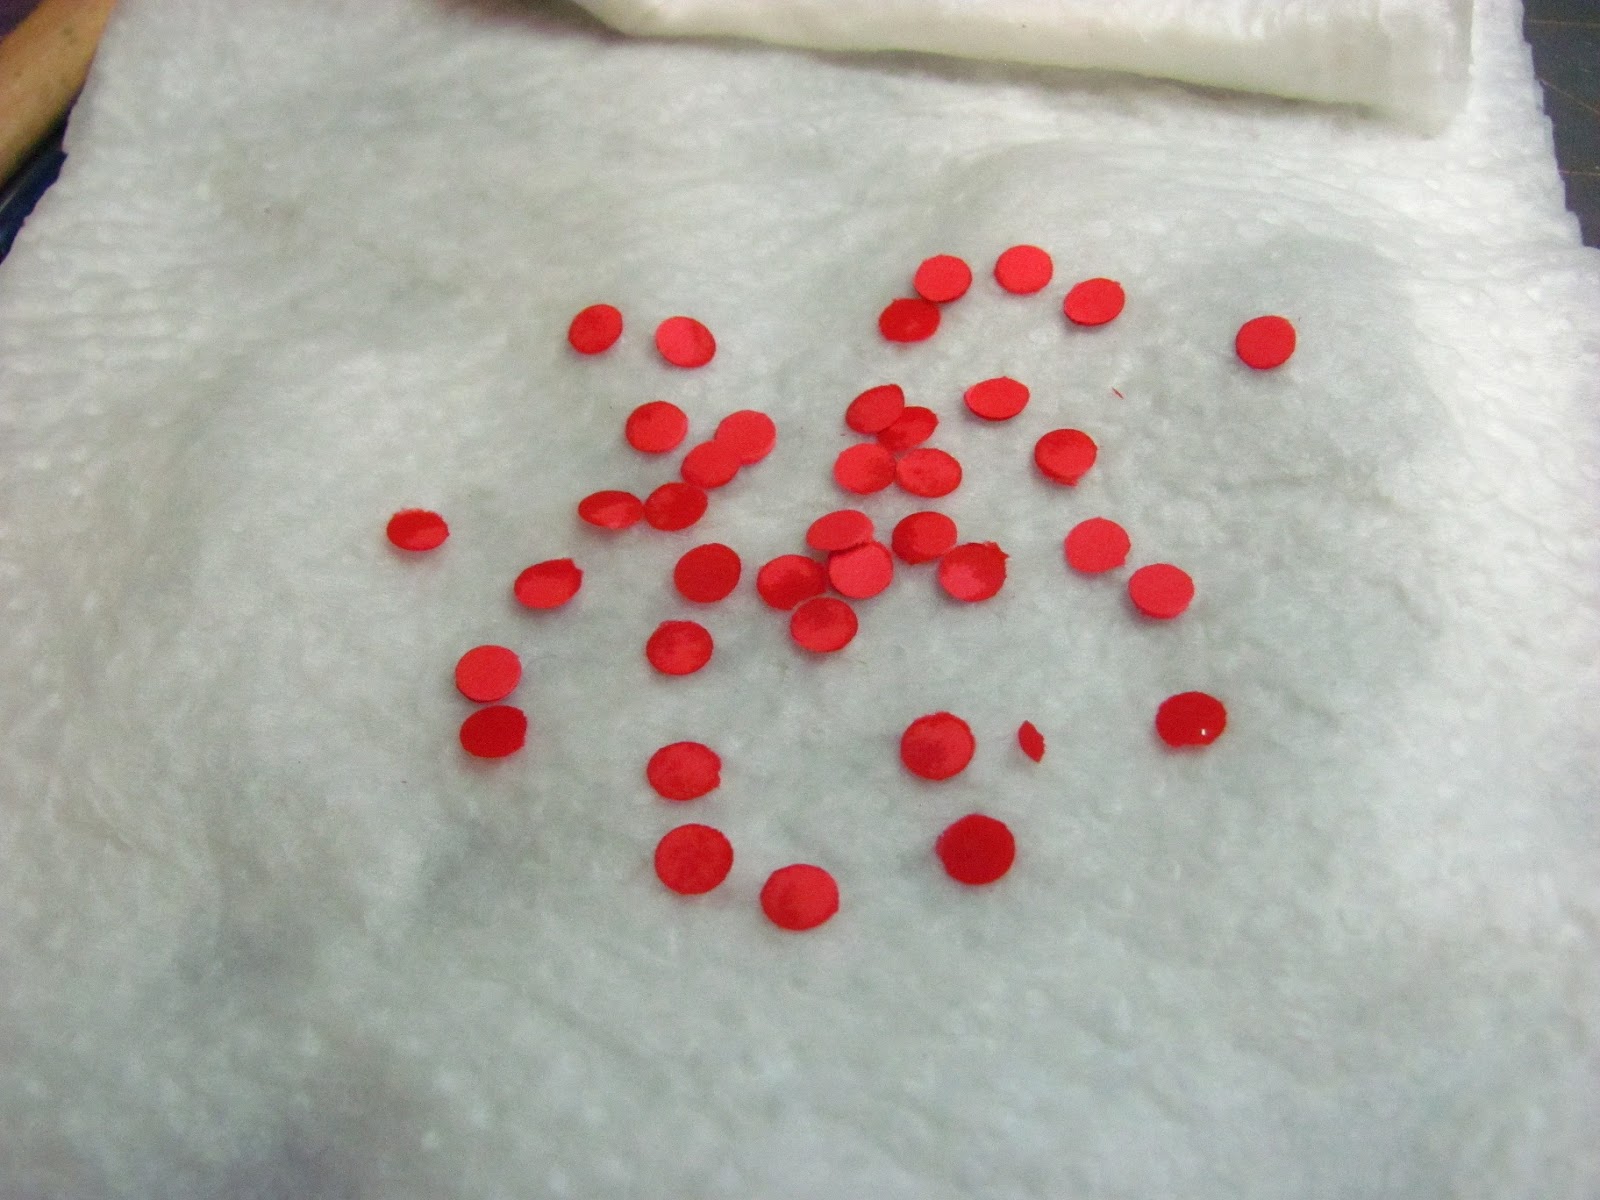
Punch your circles out and let them land on the wet paper towel.

Fold the paper towel over the circles.

Get the circles wet, let them absorb the water.
We need them wet to shape them. When the flowers dry they retain their shape.

Bring one circle out onto the 2 layers of craft foam and with the larger end of the stylus push into the middle of the circle.
Don't push down to the bottom of the foam.

Use the small end of the other stylus to pull and press the edge of the paper.
I like to do this at 5 different places, but usually I can only get 4 different places, that's the petals.

I'm making the second petal.
You want to pull out the paper and then push down on the second stylus making a petal shape.

This is the flower. It usually stays on the stylus when you lift the stylus off the craft foam.
Use your tweezers to drop the flower off onto your table to dry.

This is the flower.

These are my flowers drying.
There are usually 15 flowers per geranium.

When the flowers are dry you can begin gluing them onto the flower bases.
Use your tweezers to pick up the flowers and dip into yellow carpenter's glue. I use this glue because I am gluing paper to paper, this is the best bond. Once this is set there is no movement, no knocking off flowers.

That's one on.

As I said, you should be able to glue on around 15 flowers per geranium.

I have my flowers drying waiting for the next step.

Because we dampen the paper, it looses some of it's color.
I like to paint my geraniums, AFTER THEY ARE COMPLETELY DRY, PLEASE.
You don't have to get into every nook and crany, just a dab here and there will give the flower a brighter color.
Of course you could use white or pink paper for your geraniums and you wouldn't have to do this step.

I use a tooth pick to dab a bit of yellow into the flower centers.
You don't have to do every flower, just here and there.

The flower artisans always have the real deal to look at while they are making the flowers.
I don't know if it's going to help, LOL!

I took a couple of the leaves off to help with painting the leaf color.
In the end, I really don't think I matched them!

I painted the green paper.
To do this I generally squirt the paint on the paper, spread it around, add another color, and maybe another color. In the end I get a mottled look to the whole thing.
The geranium leaves have a lighter color on the back side. I painted that, too.

I have to slide this information out from under the cat!
This little punch is from www.franticstamper.com This is the greatest site, ever. Now, Hanky Panky sells the geranium leaves in 3 sizes, they are beautiful, but expensive. This little punch costs $3.99, quite a buy.

Go to: www.franticstamper.com
Near the top is a pink banner
click Shop Products
click Punch Bunch
click Mini Punches
Geranium, #PB - min - geran
$3.99
They do have a 1/2" geranium punch, but that's 6" in full size, too big. I do wish they had one 3/8", but to get a geranium leaf for $3.99 is fantastic and I can't ask for more, can I?

I've taken a picture of the paper with the two colors for the leaves.

Punch your leaves.

We aren't going to get these wet. With the paint on them they usually shape fairly well.
Use small end of your stylus and ruffle the outside edge.

Now, with the small end of the stylus score a middle vein and then make one more on either side.

Use your tweezers to pick up a leaf, then dip the stem into tacky glue. I am using tacky because I am gluing painted paper to metal, this will grab and hold better.

Glue 2 or 3 leaves to each stem.

Cut some more of the 26 gauge wire for filler leaves.
Use your pliers to bend over the tip.

Dip the bent end into tacky glue.

Press the wire onto the back of the leaves.

Here my flowers and filler leaves drying waiting for the rusty pan to be made.

On to the rusty pan.
If you have an oval template use a 3/4", 50 degree oval.
Trace it onto card stock. Don't move your template.

Use the small end of the stylus and trace around the line.
Remove the template and use the stylus again. Score a line.

Cut the oval out leaving about an 1/8" extra all around.

Cut out "V" notches all around the oval. Cut right up to the scored line.

Bend the extra card stock up along the scored line.

Cut out the side of the rusty pan from card stock.
Make sure you draw the glue line on the side.

Lay the side piece on the edge of the table and run it over the edge with the palm of your hand on it. This will give it a curl and be easier to glue.

Apply yellow carpenter's glue to the end and overlap the side to the line.
I held the seam on my stylus or pencil to help seal the seam.
I did make a few of these using the pattern so everything should match up.

Now, apply yellow carpenter's glue to the inside of the bottom.

Push the oval into the sides and press the points to the sides to seal.

This is optional.
I used button hole/carpet thread to make a rolled edge on the top and bottom of the pan.

I glued the thread to the top and the bottom edges of the pan. I used yellow carpenter's glue.

If you have 24 gauge green paddle wire use it for the handles, if you only have the 26 gauge that's fine to use, too.

Cut two pieces, 1 inch long.

Bend the two pieces around your pencil.

I dipped the tips of the handles into glue.
I used the yellow carpenter's glue, but you could use tacky.

Glue the wire to a narrow strip of card stock.

Since the handle is glued to a round shape we need to trim the top of the narrow strip of card stock.
Do you see it in the top handle?

Mark on the inside of the pan the center of each end.

I used yellow carpenter's glue to glue the handle on the side using the mark I made as a guide.
Let this dry before going on to the next step.

After your handles are good and dry you can bend them.
I couldn't take the picture with both hands on the pan, I am just showing where the pliers need to be, right along the top edge of the pan. Your first finger and thumb need to be right under the pliers. Now, bend the handle down, slightly.

Here is the pan.
You can finish it like I did, rusty.
You can also finish it dark blue with white spatters, you can paint it like white enamel ware with the thread and handles painted black, you can paint it with a verdigris finish and then you could just paint it a color with little rusty spots.

I painted my pan a rusty color.
Give it two coats, let dry.

I've shown these before, but for those that don't know these are the sponges I use. I get them at Micheal's.

Here is a closer look at the label.

I like these because the holes are small and close together.
Get the sponge wet and wring out all the water.

I used more of the rusty color, black and a dark brown.

I've sponged on some of the black.

I've played with it, adding more rust color, then mixing with the brown, then adding more black.
I play until I get something I like.

I wanted to show you what everything looks like, all mixed up. I dab a little of this color then the other, using the same sponge. I dab the sponge on newspaper before I use it on the pan.
Just get in there and play.

Let's fill the rusty pan with the geraniums you have made.
I use florist's foam, this stuff is soft and very crushable, it absorbs water. It's not the crispy kind of styrofoam.
Sometimes you can find this in brown, that's really good for this kind of thing.

Cut a little off to fill the pan.

Put some tacky glue in the pan.

Press the floral foam into the pan.
Try not to get the pan out of shape.
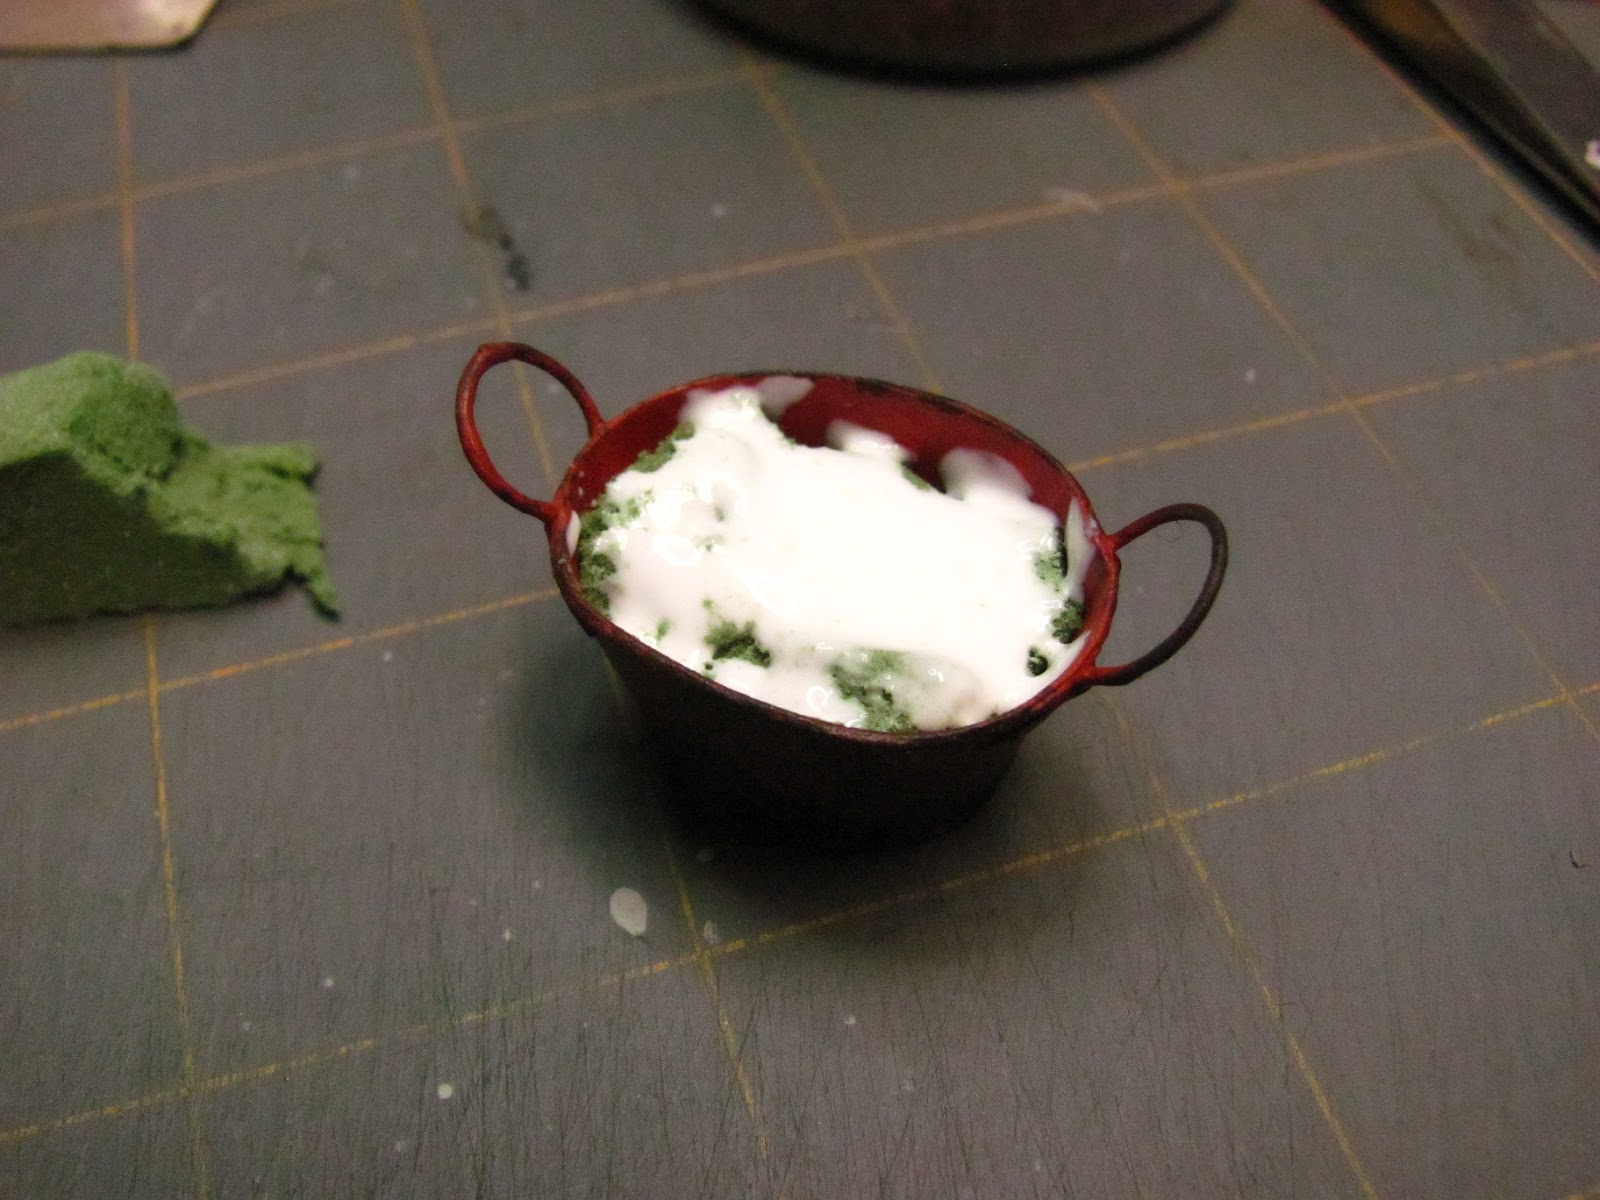
Spread some tacky glue on top of the floral foam.

For dirt I use tea that I have saved from my used tea bags.

Pour the "dirt" onto the tacky glue.

I use sticky wax to stick the rusty pan to a platform I made.

I use this platform for arranging flowers. It's eye level and very helpful.

I started out with a center flower and then added two outside flowers that are a little shorter.
I know I am "arranging" the geraniums, not putting them in like the way they grow. This is easier for me and I like the end result.

I've added two flowers in the front and two flowers in the back.

I've added three short flowers along the front edge between the ones all ready there.

I've added the filler leaves where I thought I needed some.

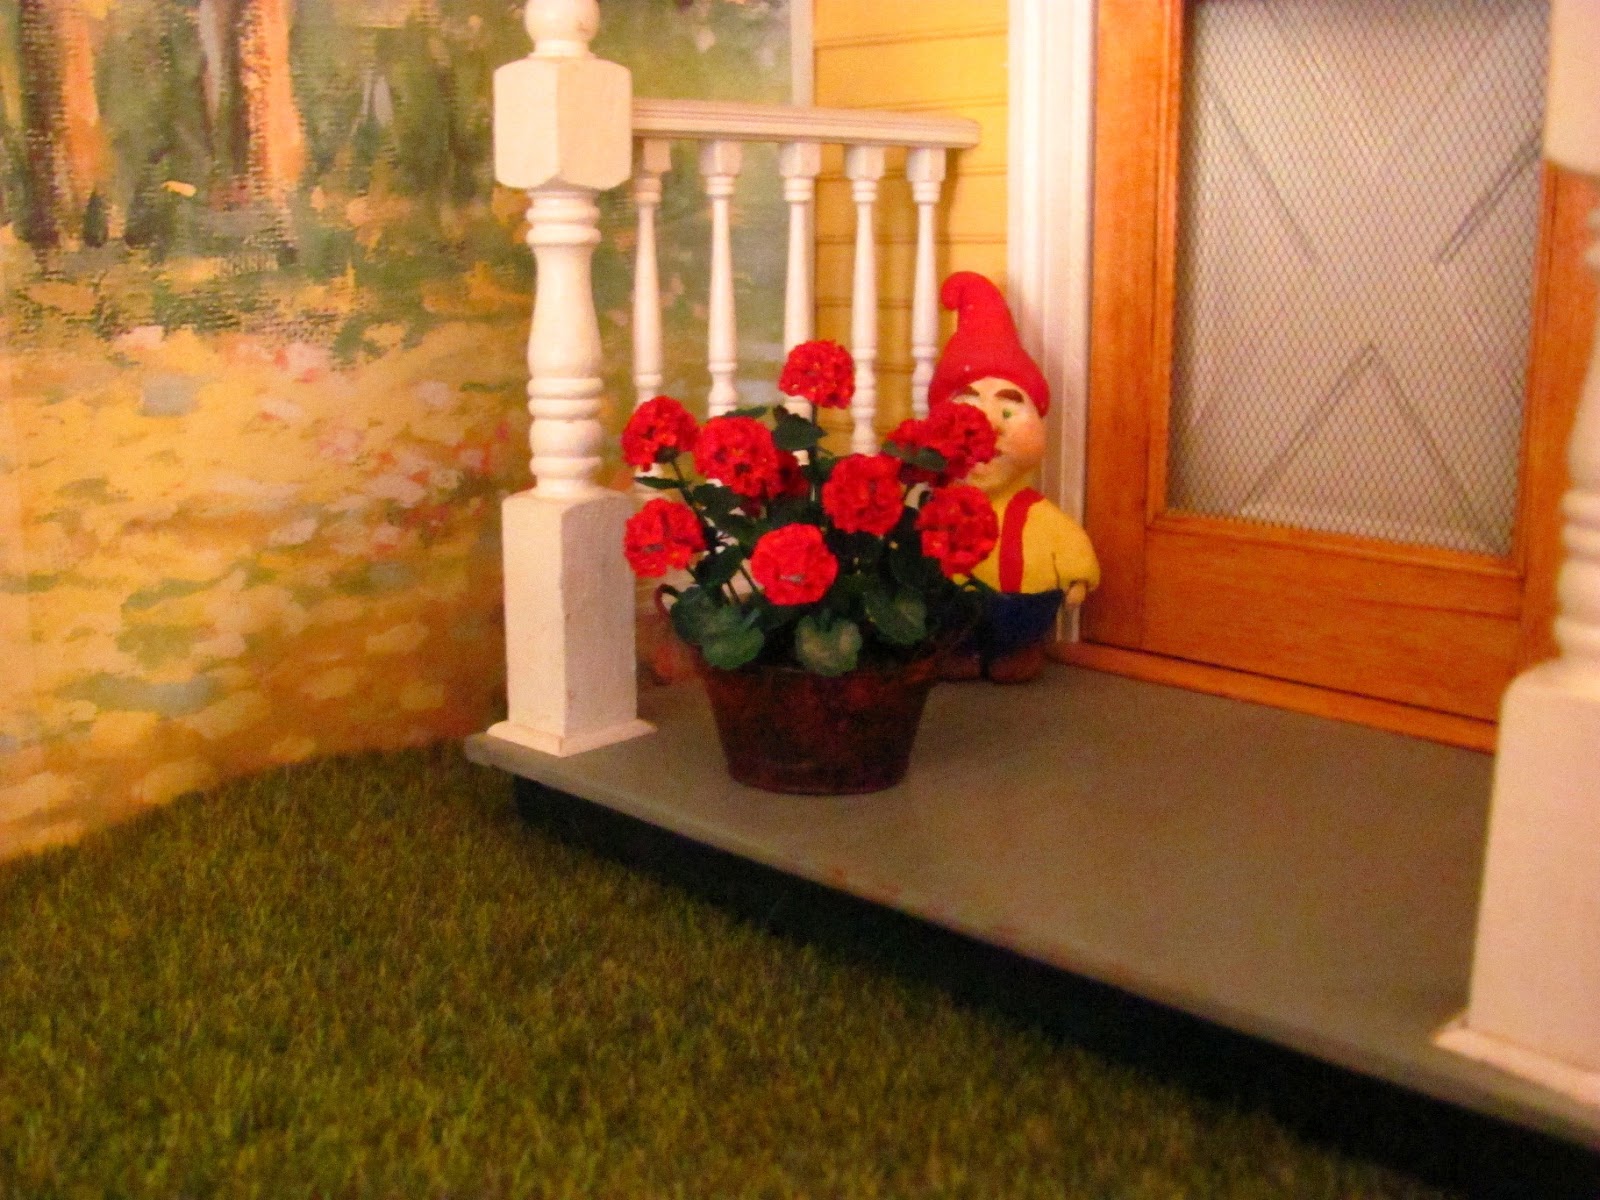
Onto the back porch with the gnome watching over it.
So sorry I was late, I do hope you enjoy this tutorial and make a bunch of geraniums!
As always . . . .Have fun, Expand on it, Make it better . . . . .
Just Keep Making Minis.
TTYL Kris
P.S. Frantic Stamper has the suede paper that will work in your computer printer, I use this for printing rugs.